Rope Basket with fabric decoupage
Hello there and Happy Thursday!
I've been wanting to have a decorative basket to store my lap quilts in. I've seen lots of beautiful ones online and in stores. After doing a little research and some planning I decided make this a DIY project and make a small basket.
I wanted my basket to have a fabric lining and thought what a great opportunity to use more of my scraps!
Grab a drink, sit back, and I hope you enjoy my rope/fabric decoupage basket diy journey!
Materials I used
- Old Dollar Tree plastic basket
- Dollar Tree nautical rope
- Dollar Tree nautical rope in cotton
- Mod Podge
- Hot glue gun and sticks
- Fabric Scraps - various strips from Tim Holtz's Electic Elements collection
Fabric Decoupage
1. Pressed fabric and made sure one edge was straight
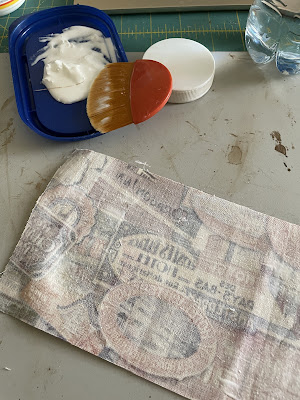
2. Using a brush I applied Mod Podge to the wrong side of the fabric.
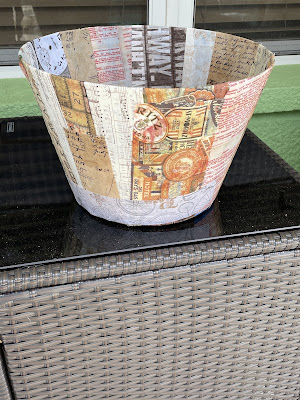
3. Gently laid fabric strip inside and outside basket.
4. Continued adding fabric strips until entire basket was covered.
Basket Bottom
To give the basket bottoms a finished look, I cut out cardboard circles from a cereal box using the basket bottom as a template.
Once the circles were cut I did quick test to ensure they fit.
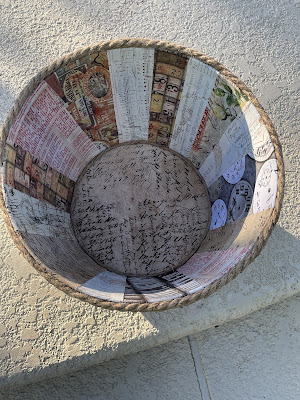
I covered the cardboard circles with scrap batting and more fabric.
I secured the fabric covered cardboard circles to the bottom of the basket, inside and out with hot glue. I also added some of the decorative rope around the bottom of the inside fabric covered circle.
At this point I was loving the basket inside!
Rope Decor
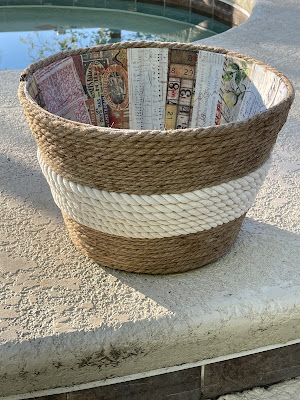
I removed the tape from all of the nautical rope bundles. Beginning with the natural colored rope I placed a little hot glue at the bottom of the basket to secure the first strand of rope.
I continued wrapping and gluing the rope around the perimeter of the basket stacking each row on top of the previous, making sure to keep the rope taut and flush so the fabric did not show through.
I finished out the last strand of rope at the very top of my basket. I didn't place any rope on the inside because I wanted the fabric to be seen in its entirety.
This was a super fun project - I love my up-cycled Dollar Tree rope basket. I'm ready to make a larger one.
Tell me what you think -- I'd love to know if you tried this before or plan making one in the future.
Until next time....Happy Crafting!


Hi Karla! Your basket is gorgeous. You do such a nice job on everything - this finihs looks like it was professionally made. Why do you need the fabric on the outside of the basket? I'm guessing so that the blue doesn't show through the rope? This is the perfect vessel for hosting for pretty quilts. Happy Friday to you. {{Hugs}} ~smile~ Roseanne
ReplyDelete